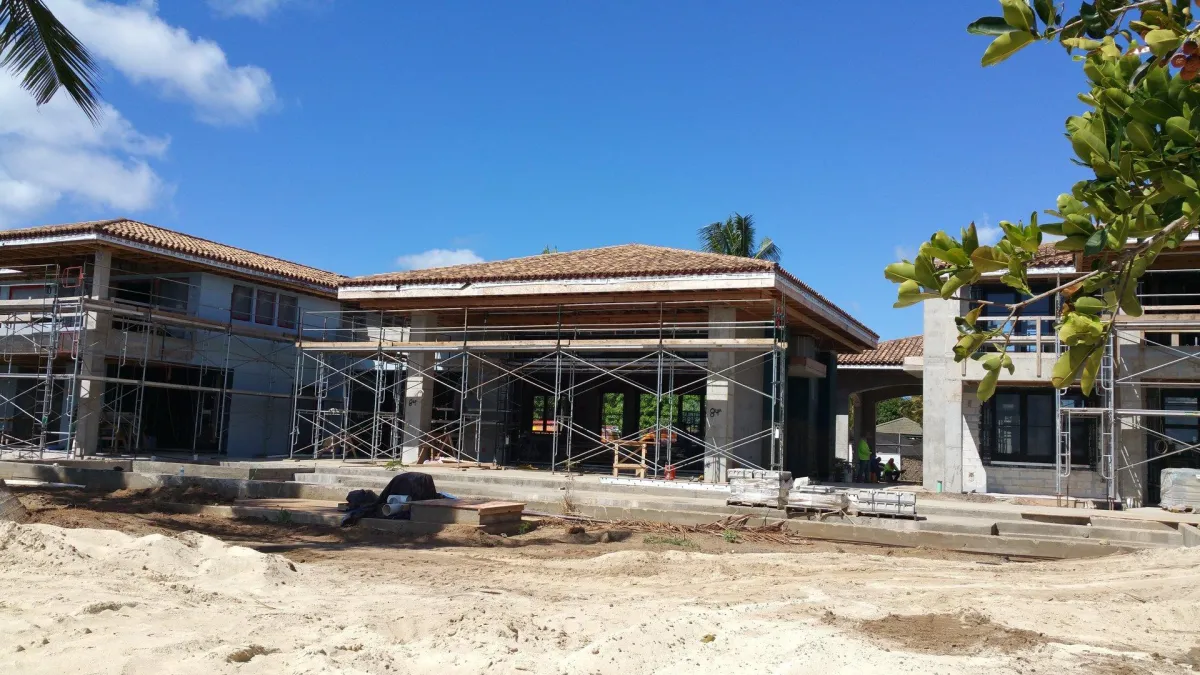
What to Expect During Framing & Drywall Coordination on New Builds in Kapolei
Introduction
Building a new home in Kapolei is an exciting journey — every stage brings your vision closer to reality. One of the most critical phases is the coordination between framing and drywall. If this stage isn’t managed properly, it can cause costly delays, alignment issues, and frustrating rework down the line.
This article will walk you through what to expect during framing and drywall coordination for new builds in Kapolei. You’ll learn how the process works, why it matters, common mistakes to avoid, and how experienced contractors keep projects efficient and on schedule.
Why Framing and Drywall Coordination Matters
Framing provides the structure of your home, while drywall creates the finished walls and ceilings you see every day. The two are tightly connected — any issues in framing can cause serious complications once drywall installation begins.
When framing and drywall contractors coordinate effectively, you get:
Straighter walls and cleaner finishes that make your interior look more polished.
Fewer delays since both trades are aware of each other’s requirements.
Better material efficiency, reducing waste and unnecessary costs.
Improved durability, with fewer cracks and alignment issues over time.
In Oʻahu’s tropical environment, factors like humidity, wood expansion, and construction timelines make this coordination even more crucial. Proper framing alignment and moisture-aware drywall installation protect your home from long-term damage.
What Happens During Framing & Drywall Coordination
To understand what you’ll experience on a new build in Kapolei, it helps to break down the process step by step.
Step 1: Pre-Construction Planning
Before framing begins, the builder, framers, and drywall contractor meet to review architectural drawings. They confirm wall layouts, ceiling designs, and locations of plumbing and electrical runs. This stage ensures that all trades are aligned before materials arrive on-site.
Step 2: Framing with Drywall in Mind
During framing, contractors pay close attention to stud spacing, alignment, and blocking. They’ll make sure wall cavities are consistent and provide proper backing where fixtures, cabinets, or grab bars will be installed.
Step 3: Pre-Drywall Inspection
After framing, mechanical systems (plumbing, electrical, HVAC) are roughed in. The drywall team then inspects the structure to verify stud spacing, check for misalignments, and confirm that everything is ready for drywall installation.
Step 4: Corrections & Adjustments
If framing inconsistencies or gaps are found, they’re fixed before drywall begins. Making these corrections early prevents more expensive fixes later and ensures walls and ceilings stay smooth after finishing.
Step 5: Drywall Hanging
Once approved, drywall sheets are installed across walls and ceilings. Proper framing makes this phase efficient — minimizing cuts, patchwork, and material waste.
Step 6: Finishing & Detailing
After drywall installation, taping, mudding, and sanding are performed to create a clean, seamless surface. The quality of the underlying framing directly affects how smooth and flawless these finishes appear.
Step 7: Final Quality Check
Before painting begins, both framing and drywall work are reviewed together. Any minor imperfections are corrected, ensuring the home is ready for the finishing stages.
Common Issues and How to Avoid Them
When framing and drywall coordination isn’t handled carefully, several problems can arise.
Here are the most common issues — and how professional coordination prevents them:
Misaligned framing or studs: Causes uneven drywall surfaces and cracking. Solution: use precise measurements and consistent stud spacing.
Missing backing or blocking: Leads to unstable wall fixtures. Solution: ensure blocking is installed behind every area that will carry weight.
Poor service coordination: Electrical boxes or plumbing lines may conflict with drywall sheets. Solution: map service routes during pre-construction meetings.
Humidity-related movement: Tropical conditions can cause warping. Solution: use moisture-resistant drywall and allow framing materials to acclimate before installation.
Unplanned openings or changes: Late design changes create extra cutting and patching. Solution: finalize wall layouts early in the planning stage.
By anticipating these issues, builders and drywall experts keep projects running smoothly and within budget.
Frequently Asked Questions
Q: How long does it take to transition from framing to drywall?
Typically, drywall installation begins once framing, electrical, and plumbing inspections are completed — usually within a few days if no major corrections are needed.
Q: What kind of framing works best for drywall?
Wood framing is common in residential projects, but metal studs are often used in commercial or high-humidity environments for added stability.
Q: Can drywall be installed directly after framing?
Only once inspections are complete and framing has been approved. Moisture or misalignment issues must be resolved before drywalling begins.
Q: What happens if the drywall doesn’t align properly with framing?
It often leads to cracking, bulging, or uneven finishes. Adjustments during framing prevent these problems.
Q: Why is coordination especially important in Kapolei?
Tropical humidity can expand framing materials. Local drywall professionals use moisture-resistant materials and plan installation timing to avoid warping or joint movement.
Conclusion
Framing and drywall coordination might seem like a behind-the-scenes process, but it’s one of the biggest factors in the quality and longevity of your build. When both trades communicate clearly, plan ahead, and follow precise standards, you get straight lines, strong walls, and a smoother finish — all while saving time and cost.
In Kapolei’s humid environment, this coordination becomes even more essential. Whether you’re a homeowner or contractor, partnering with a team experienced in both framing and drywall ensures your project is built right from the inside out.