Best Ways to Prepare Walls Before Painting
Introduction
Even the highest-quality paint can't hide a poorly prepped wall. In Mililani homes where moisture, patch repairs, and tropical humidity take their toll on interior surfaces, wall preparation is essential—not optional.
If you want clean, even coverage and a finish that holds up over time, then your first priority should be prepping the surface correctly. Below is a complete breakdown of how to prepare your walls the right way before painting, especially in Hawaii’s humid climate.
Why Wall Prep Matters Before Painting
Poor preparation always shows—through uneven color absorption, visible seams, texture inconsistencies, or flaking. Prep work ensures:
Paint adheres properly
The finish looks smooth and uniform
Imperfections don’t show through
Moisture-related problems are controlled
In Mililani’s environment, where drywall and plaster surfaces are often exposed to humidity fluctuations, skipping proper wall prep will shorten your paint’s lifespan and visual appeal.
Step-by-Step Process for Wall Preparation
This section uses numbered steps because wall prep is a clear process. These steps apply to drywall, plaster, and previously painted surfaces.
1. Clear and Cover the Area
Move furniture and cover with drop cloths.
Protect floors with heavy-duty paper or plastic sheeting.
Remove switch plates, outlet covers, and wall-mounted fixtures.
2. Inspect the Walls Thoroughly
Look for nail pops, dents, cracks, or moisture stains.
Shine a light across the wall at an angle to highlight surface issues.
Use a pencil to lightly circle problem areas for later repair.
3. Clean the Surface
Use a mild detergent or trisodium phosphate (TSP) solution to remove grease and residue.
In humid areas like Mililani, check for mildew and treat with anti-fungal solutions.
Allow walls to dry completely before moving to the next step.
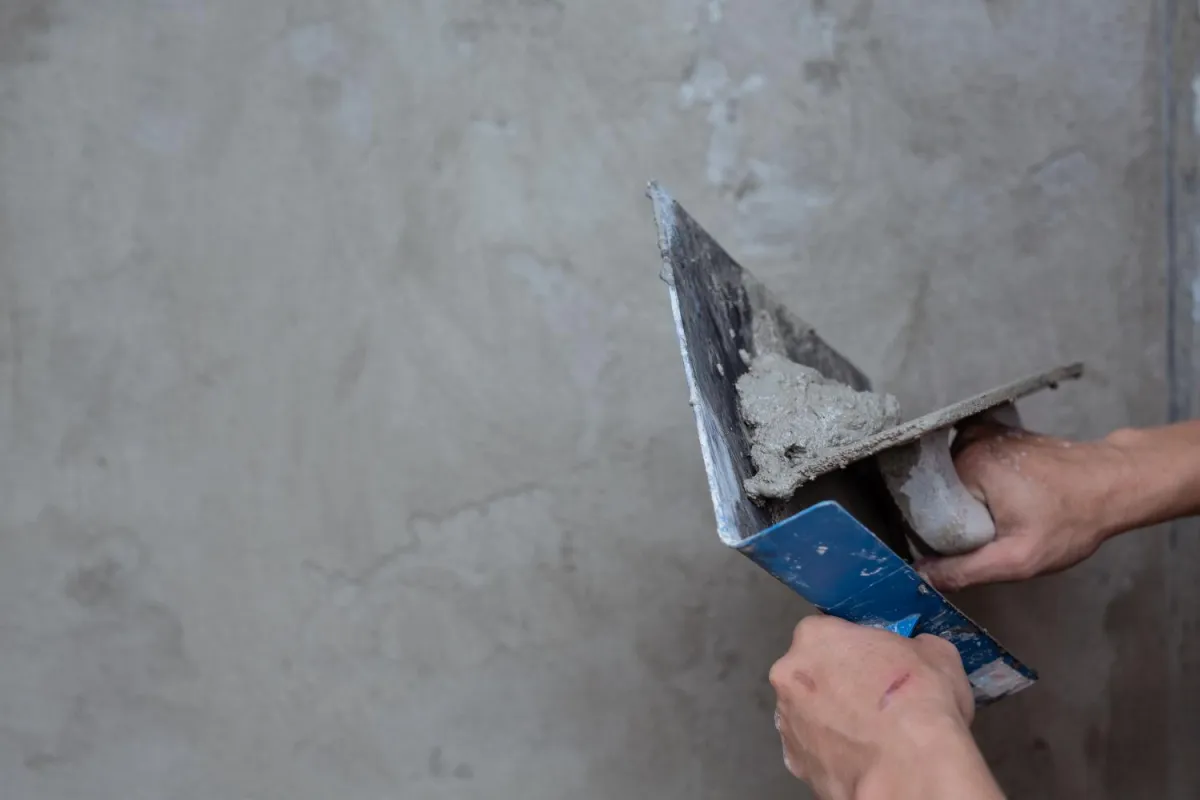
4. Repair Any Damage
Fill holes and cracks with joint compound.
Sand smooth once dry and feather the edges.
For larger damaged areas, consider drywall patching or skim coating.
5. Sand the Surface
Sand entire walls lightly with 120–150 grit sandpaper.
Focus on seams, patched areas, and glossy surfaces to promote adhesion.
Vacuum and wipe down with a tack cloth afterward.
6. Prime the Walls
Use a stain-blocking primer on patched areas, stains, or raw drywall.
For full-wall repaints, consider priming the entire surface for even color and sheen.
In humid areas, use mold-resistant or moisture-resistant primer when needed.
Special Wall Prep Considerations for Mililani Homes
This section uses bullets to highlight climate-specific prep concerns relevant to Mililani, Hawaii.
Humidity impact: Tropical air increases the risk of paint bubbling or mildew; surfaces must be completely dry and cleaned beforehand.
Previous water damage: Stained drywall near windows or lanai doors should be sealed with a primer before painting.
Masonry walls: In some Mililani homes, older concrete or CMU block surfaces need etching and priming to ensure paint adhesion.
Wood paneling or trim: Needs degreasing and sanding, especially near kitchens or bathrooms where moisture is frequent.
FAQs
Do I always need to prime before painting?
Priming is essential when painting over raw drywall, patched areas, stained surfaces, or high-humidity rooms. It helps even out absorption and improves durability.
What happens if I skip sanding?
Skipping sanding can lead to poor paint adhesion, uneven sheen, and visible surface flaws after painting—especially under side lighting.
Can I paint over mildew?
Never paint over mildew. It must be cleaned and treated with a fungicide. Otherwise, it will grow through the paint and damage the finish.
How long should I wait after washing the walls?
At least 24 hours, or until the surface is fully dry. In humid climates like Mililani, give walls extra drying time to avoid trapped moisture under paint.
Is prepping new drywall different from repainting?
Yes. New drywall requires taping, mudding, sanding, and priming before any paint goes on. Repaints may only need light sanding and spot priming—depending on wall condition.
Conclusion
Proper wall prep isn’t about being extra—it’s about making sure the finished result actually lasts. Especially in Mililani’s climate, where moisture and light exposure can quickly degrade paint, taking time to clean, repair, sand, and prime your walls will make every coat of paint look better and last longer.
If you want flawless results without the hassle or risk of missed steps, Verfel Drywall Company LLC handles wall prep and finishing with professional precision—so your painting starts on the right surface every time.
