5 Common Drywall Installation Mistakes & Pro Solutions
5 Common Mistakes During Drywall Installation (And How Pros Avoid Them)
Drywall installation might look simple when you watch professionals doing it, but achieving that perfectly smooth, seamless finish requires skill and knowledge. Many homeowners and DIYers attempt drywall projects only to find themselves facing uneven surfaces, visible seams, or cracks that appear months later.
The five most common drywall installation mistakes include improper panel placement, using wrong fasteners, poor joint treatment, inadequate sanding, and rushing the drying process. Professional installers avoid these pitfalls through careful planning, using proper techniques, and allowing adequate time for each stage of the installation process.
Whether you're considering a DIY drywall project or want to better understand what quality professional work looks like, knowing these common mistakes can help you achieve better results. This guide explores the most frequent errors and shares the professional secrets to flawless drywall installation.
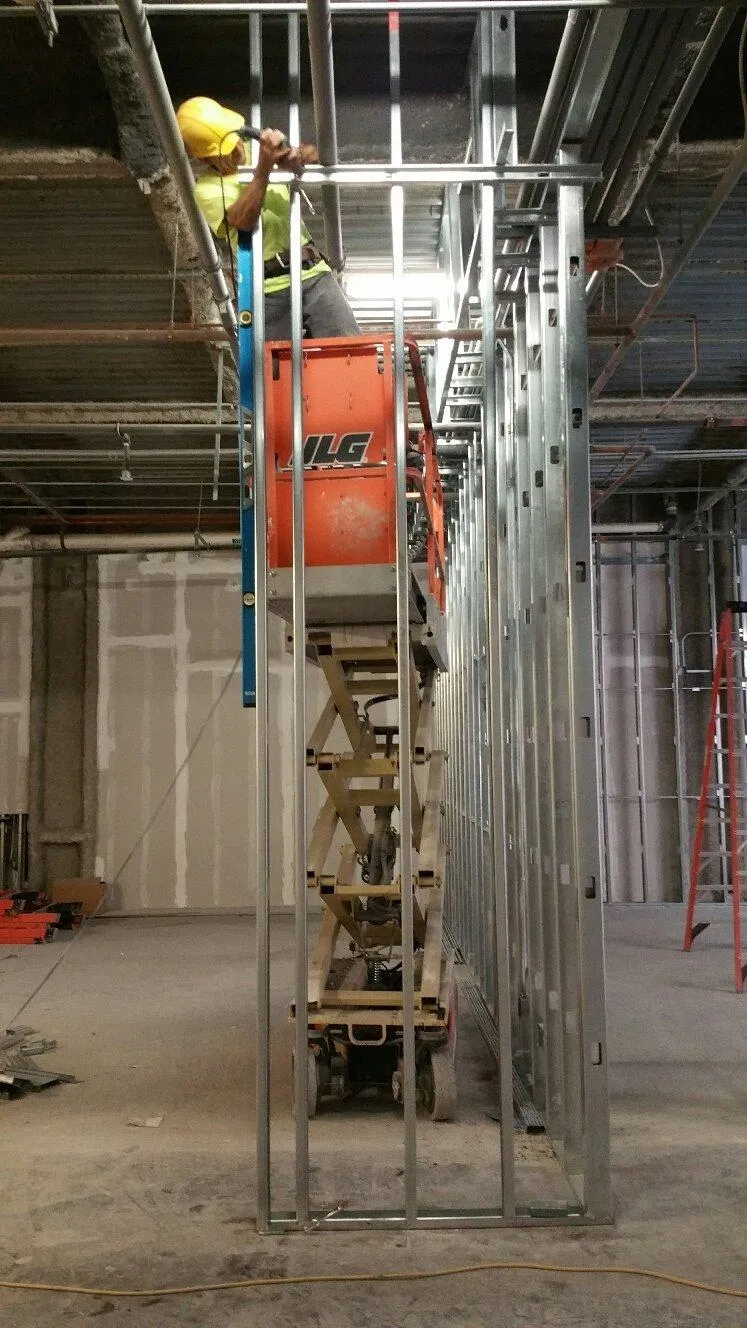
Understanding Drywall Installation Basics
Why Proper Drywall Installation Matters
Drywall does more than just cover your walls and ceilings. Properly installed drywall provides fire resistance, sound dampening, and insulation benefits to your home. When installed correctly, it creates a smooth canvas for paint or wallpaper and contributes to your home's overall structural integrity.
Poor installation can lead to:
Visible seams that crack over time
Nail pops that push through paint
Uneven surfaces that cast shadows
Corners that chip or crack easily
Increased repair costs down the road
Tools and Materials Professionals Use
Professional drywall installers rely on specialized tools that help them achieve superior results:
T-square and measuring tape for accurate cutting
Drywall lift for ceiling installation
Screw gun with depth setting for proper fastener placement
Taping knives in various widths (4", 6", 10", 12")
Corner tools for clean inside and outside corners
Sanding tools with dust collection systems
They also select high-quality materials including drywall sheets suited to specific applications, professional-grade joint compound, and fiberglass mesh or paper tape depending on the situation.
Mistake #1: Improper Panel Placement and Measuring
The Correct Way to Measure and Place Drywall
One of the biggest mistakes DIYers make is placing drywall panels without planning, resulting in too many seams in the wrong places. Pros avoid excess seams by starting with a detailed plan of how panels will be arranged.
Key professional techniques include:
Hanging ceiling panels first, then walls
Installing full sheets whenever possible
Staggering seams between rows (like brick pattern)
Avoiding seams that align with door and window corners
Cutting panels 1/4" shorter than floor-to-ceiling height
How Professionals Plan Panel Layout
Before hanging the first sheet, professionals map out the entire room. They:
Measure the entire space thoroughly
Mark stud and joist locations on floors and adjacent walls
Plan sheet layout to minimize waste and problematic seams
Account for electrical outlets, switches, and fixtures
Ensure factory edges meet factory edges whenever possible
Professional installers know that taking time to plan saves hours of finishing work later and produces better results.
Mistake #2: Using the Wrong Fasteners and Spacing
Selecting the Right Screws for Your Project
Using nails instead of screws or choosing the wrong screw type is a common DIY mistake. Professional installers select screws based on drywall thickness and application:
1-1/4" screws for 1/2" drywall on wood studs
1-5/8" screws for 5/8" drywall on wood studs
Self-drilling screws for metal studs
Special screws for ceiling applications
Pros also use coarse-thread screws for wood framing and fine-thread screws for metal framing.
Professional Fastening Techniques and Patterns
Proper screw placement prevents future problems like nail pops and cracked seams:
Screws placed every 12" along studs in wall applications
Screws placed every 8" along joists in ceiling applications
First screw placed 3/8" from panel edge
Screws set just below paper surface without breaking paper
Consistent pattern maintained throughout installation
Professionals also know to add extra screws near openings and high-stress areas to prevent movement that can lead to cracks.
Mistake #3: Poor Joint Treatment and Taping
Professional Taping Methods for Seamless Walls
Joint treatment is where many DIY projects fail. Professionals use a three-coat system that builds up gradually for invisible seams:
Embed tape in first coat of joint compound
Apply second coat 2" wider than first coat
Finish with third coat 2" wider than second coat
For inside corners, pros:
Apply compound to both sides
Fold paper tape down center and press into corner
Use corner tools to create perfect 90-degree angles
For outside corners, they:
Install metal or vinyl corner bead
Secure with screws or staples
Apply three progressively wider coats of compound
Common Joint Compound Application Errors
DIYers often make these mistakes that professionals avoid:
Applying too much compound in one coat (pros use thin layers)
Not feathering edges properly (pros taper edges to zero)
Using wrong compound type (pros select all-purpose for first coat, lightweight for finishing)
Rushing between coats (pros allow complete drying)
Creating uneven buildup (pros maintain consistent pressure while applying)
Professional finishers develop a feel for proper application through experience, resulting in smoother final surfaces.
Mistake #4: Inadequate Sanding Between Coats
The Three-Coat System Professionals Follow
Professional drywall finishers follow a systematic approach:
First coat: Embed tape, cover fasteners, rough finish
Light sanding: Remove ridges and bumps
Second coat: Wider application, smoother finish
Second sanding: More thorough smoothing
Third coat: Final thin layer for perfect finish
Final sanding: Careful detail work for flawless results
Each step builds on the previous one, with proper sanding between coats being essential to achieving a smooth finish.
Sanding Tools and Techniques for Smooth Results
Professionals use different tools for different sanding situations:
Pole sanders for large wall and ceiling areas
Hand sanders for detailed work and corners
Sanding sponges for inside corners
Wet sanding for final passes to minimize dust
They also know to:
Sand with light pressure to avoid gouging
Use circular motions to blend edges
Check work with a bright light held at an angle
Wear proper dust protection
Clean surface completely between coats
Mistake #5: Rushing the Drying Process
Understanding Drying Times for Quality Results
Perhaps the most common mistake is not allowing enough drying time between coats. Professional installers know that rushing leads to shrinkage, cracks, and callbacks.
Standard professional drying guidelines:
24 hours between coats in normal conditions
Longer drying times for thicker applications
Complete drying before sanding (compound should be white, not gray)
Final coat should dry at least 24 hours before priming
Professionals build these drying times into their project schedules rather than trying to accelerate them artificially.
How Weather and Humidity Affect Your Project
Environmental factors significantly impact drying:
High humidity slows drying and may require fans or dehumidifiers
Cold temperatures extend drying time (below 55°F is problematic)
Direct sunlight can cause uneven drying and should be avoided
Air circulation helps but too much can cause compound to dry too quickly on the surface
Professionals monitor these conditions and adjust their approach accordingly, sometimes adding extra drying time during humid weather or using setting-type compounds in challenging conditions.
When to Call a Professional for Your Drywall Project
Signs Your Project Might Need Expert Help
Consider hiring a professional if:
Your project involves high ceilings or large spaces
You need to match existing textures
You've attempted repairs that aren't working
You notice recurring cracks or nail pops
Your project has special requirements like soundproofing
You're short on time or tools
Even small drywall issues can become major problems if not addressed properly.
Choosing the Right Drywall Contractor
When selecting a professional:
Check for proper licensing and insurance
Look for contractors with specific drywall experience
Ask about their finishing process
Request references from similar projects
Get a detailed timeline and cost estimate
Ask about warranties on their work
A quality contractor will be willing to explain their process and stand behind their work.
Why Verfel Drywall Delivers Superior Results
Don't let common drywall mistakes ruin your home improvement project. Trust your walls and ceilings to experts who know how to do the job right the first time.
Verfel Drywall Company LLC has been serving Mililani and Oahu for over 30 years with professional drywall installation that avoids all the common pitfalls. Our licensed, BBB-accredited team brings specialized tools, premium materials, and decades of experience to every job.
From careful planning and precise measurement to perfect joint treatment and professional finishing, we handle every step with the attention to detail that your home deserves. Our proven three-coat process and proper drying protocols ensure walls that stay smooth and problem-free for years.
Contact Verfel Drywall Company LLC today to discuss your project and experience the difference professional installation makes. We proudly serve Honolulu, Hilo, Kailua, Kahului, Kapolei, Kaneohe, Lahaina, Ewa Beach, Waipahu, Waikoloa, Waikiki, and surrounding areas across Hawaii.